.png?height=120&name=KonaAI-Reversed%20(1).png)
konaAI Web application is a browser-based interface with several options and tabs. Learning to navigate the platform will greatly assist in successful data analysis.
Tab Navigation
When you login to the application, you will see the application divided into three segments, top bar, work area in the middle and bottom bar.
The top bar is divided into two segments with the konaAI Logo displayed on the left alongside the "Projects" and "Help" buttons. On the right you can access your "Notifications" and "User Profile".
Projects is the default tab, displayed after login.
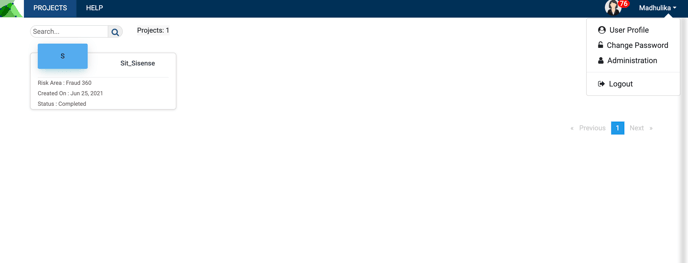
Note: The "Administration" option is only visible to those assigned an admin role. Refer User Roles to understand the different role types and their navigation and accessibility options.
Application Work Area
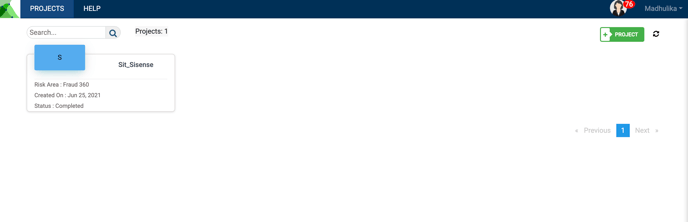
The work area, located below the top bar, is the primary area where all your major interactions with the Web application will occur. The work area begins with a search bar on the left, below which you will see a list of all the projects that you have been added to.
- You may add additional projects by selecting the +Project icon on the right.
- This icon appears directly below your Notifications icon in the top bar.
- Once a new project is added, a project icon with a label appears on the screen in your work area.
- All projects in the work area are clickable objects which will lead you to the actual project.
- The refresh icon, located next to the +Project icon can be used to refresh the screen.
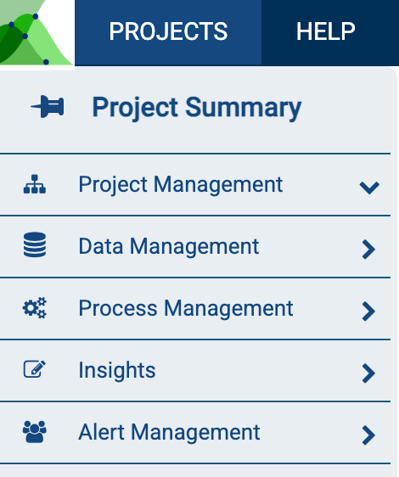
Projects Tab Navigation
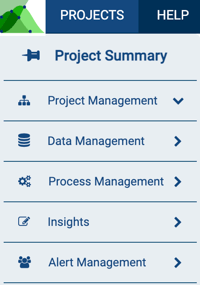
The projects portfolio located below the top bar on the left contains all the data pertaining to any project and shows you the tasks you can perform on the application. You can only launch one task at a time, the work area displays the task related details.
This portfolio is standardized across all projects and lets you perform the following functions.
|
 |
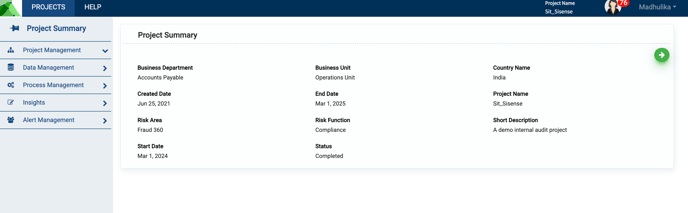
"Project Summary", nestled under Project Management is the default page that you access when you select a project from the login menu.
- The show/hide pin next to the portfolio title keeps the portfolio pinned to your screen.
- You can hide the portfolio by clicking on the show/hide pin and expand your workspace.
- When the portfolio is hidden, it displays as a ribbon with icons representing the tasks you can perform.
- The arrow pointing at an icon indicates the portfolio that you are currently working on.
- To perform a certain task, hover your mouse over the left portfolio to view the entire list of tasks.
- If you wish to revert to the default setting, click on the show/hide pin to pin the portfolio to your screen.
![]()
Project Work Area
The work area is to the right of the portfolio under the top bar. This is where your primary interaction with the project interface occurs.
The work area shows the name of the task you are currently working on. You can switch between different features by clicking on the title in the left navigation menu. By default, the "Project Summary" is displayed in the work area.